Add Data Widget
The Add Data Widget enables you to add data to the map by searching for layers from a group in ArcGIS Online or Portal for ArcGIS, entering URLs, or uploading local files.
In this way, you can temporarily add layers to and remove layers from the map. However, you can’t save the layers to the map.
How to Use the Add Data Widget
-
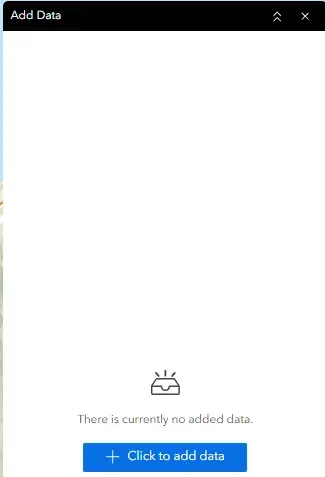
Click the Add Data Widget and if there is no currently added data click the “Click to add data” button
-
Adding data from search:
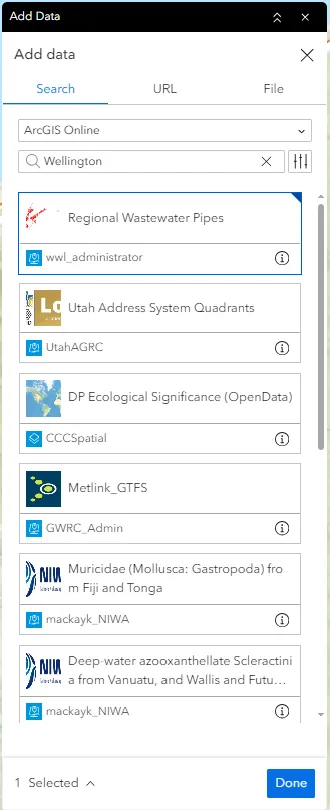
- The dropdown menu will present you with a range of options to search against.
- Type your search query into the search field and results will be displayed in the panel below. Optional filters can be added by clicking the filter button next to the search field.
- To add the data to the map, click on layer you wish to add (you can select multiple) and then click the done button.
-
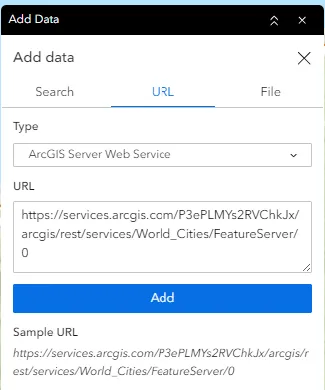
Adding data from URL
- Select the type from the drop-down menu and enter the URL
- Select the type from the drop-down menu and enter the URL
-
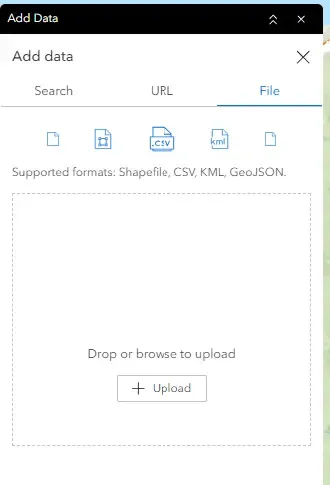
Adding data from file
- Drag and drop or browse to upload. Supported formats: Shapefile, CSV, KML, GeoJSON.
- Drag and drop or browse to upload. Supported formats: Shapefile, CSV, KML, GeoJSON.
-
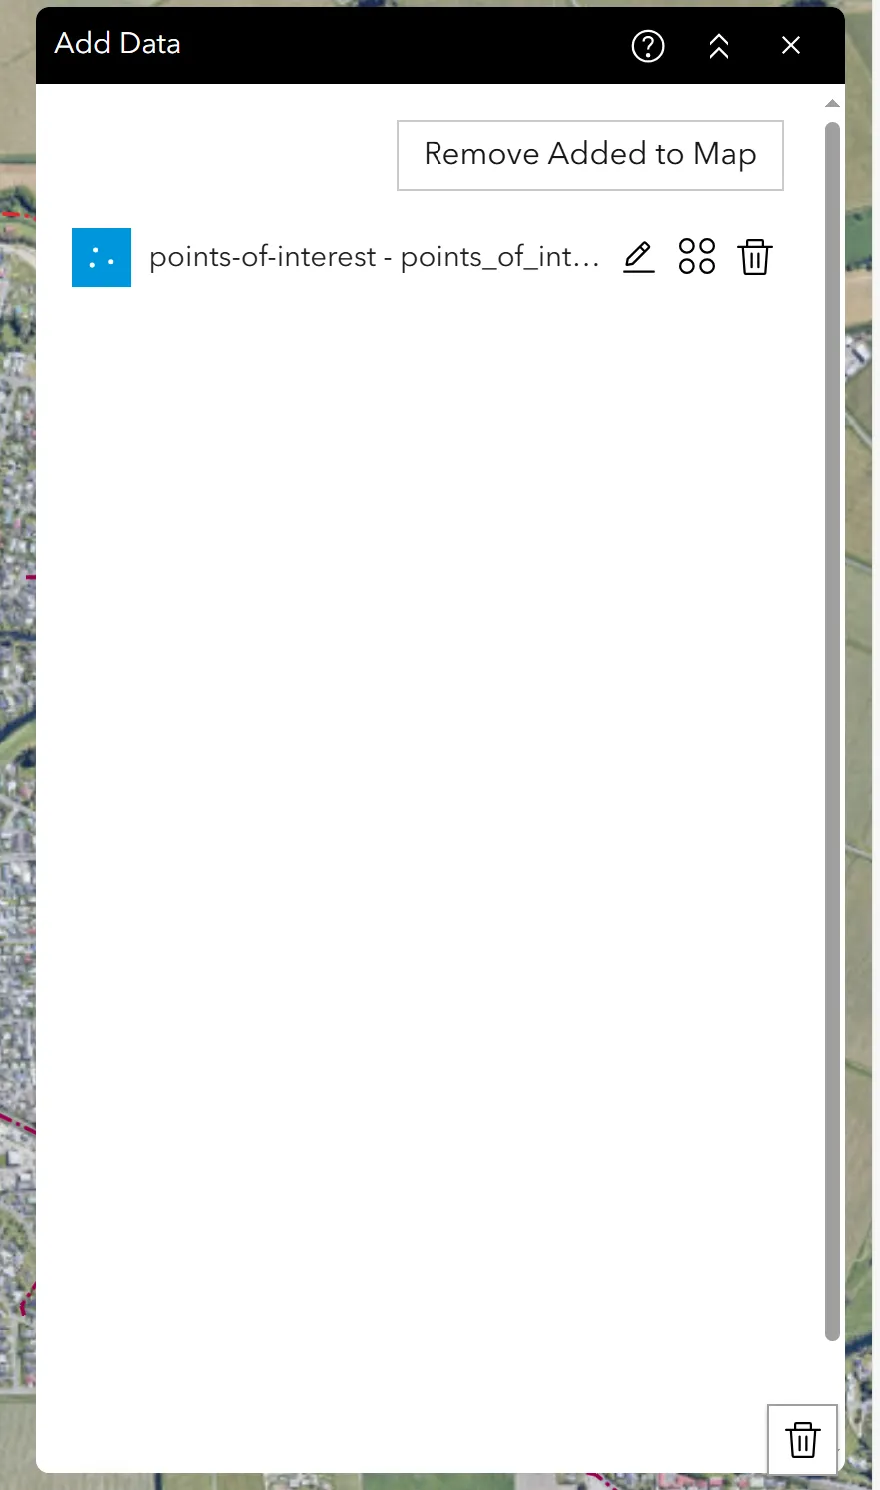
From here the feature layers added will be shown in the Add Data panel along with options beside it to rename, open more options, and remove the layer from the menu.
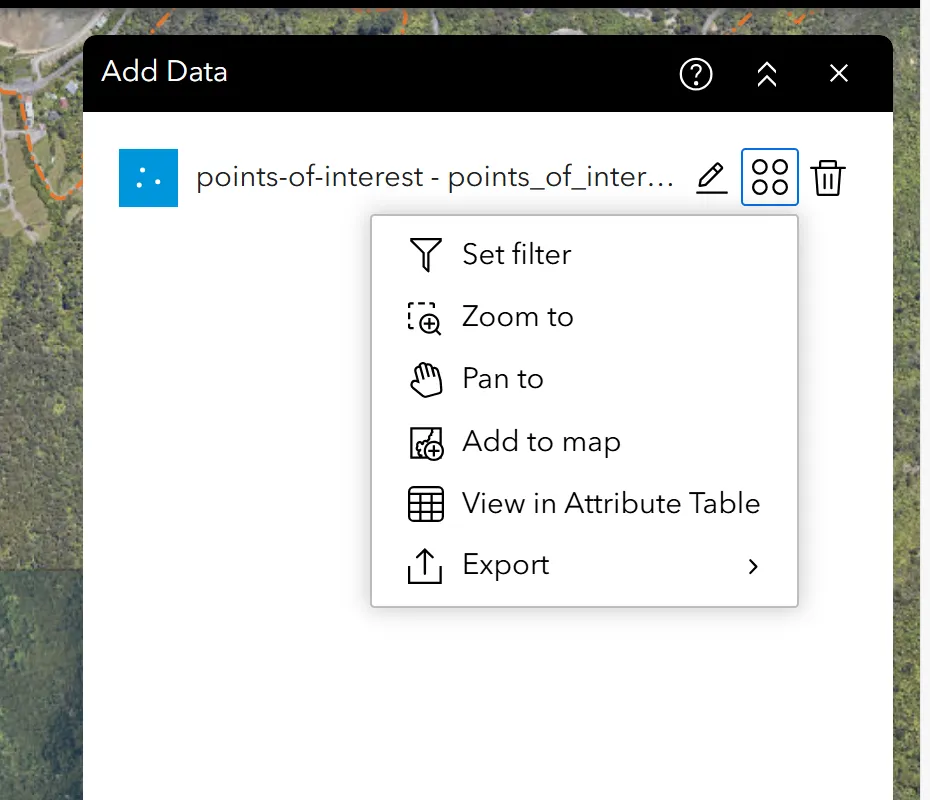
- Set Filter: Add clauses to filter the data.
- Statistics: Click to view statistics of the layer.
- Zoom to: Click to zoom to the extent of the layer.
- Pan to: Click to pan to the extent of the layer.
- Add to Map: Click to add the layer to the map.
- View in Attribute Table: Click to view the layer in the attribute table.
- Export: Click to export the layer to a file.
-
Now that the layer is added to the map, you can interact with it as you would with any other layer in the Layer List Widget.
-
To remove the layer from the map, click the “Remove Added to Map” button. To fully remove the layer from the Add Data widge, click the trash icon at the bottom of the Add Data panel.